The Koloa Zipline offers a unique ziplining experience for all guests. It’s one of the longest ziplining courses in Kauai, with a total of 8 ziplining courses that last approximately 3 hours.
You’re able to do aerobatics in the air from a standard sitting position, superman position, spinning backward, hands-free, and upside-down position. You get to see spectacular views of Kauai while you zipline through each of the different courses.
We always love to do exciting things and ziplining is by far one of the most thrilling things you can do on Kauai, apart from other activities like surfing and helicopter tours. This was our awesome experience with the Koloa Zipline and how everything went for us as well as everything you can expect if you decide to book a zipline tour with them.
Where Is The Koloa Zipline?
The Koloa Zipline is located on the south side of Kauai along Weliweli Road in Koloa. If you’re staying near Poipu like we are then it’s only a 7-minute drive from the beachside. Weliweli Road is where you will find the main office of the Koloa Zipline and where you need to check in first and get weighed. The weight limit to go ziplining with them is up to 250 pounds.
The person at the counter gives you a card for instructions on how to get to the actual ziplining site. The instructions given to us weren’t the easiest to follow to be honest and we just followed them as best as we could. We started to follow a Koloa Zipline van that helped guide us to the site. There is also a posted sign that says “Koloa Zipline ->” on a pole along the roads that points towards the right area which at least helps you know if you’re going in the right direction.
The actual site for the Koloa Zipline is located off Mahaulepu Road in the old Koloa plantation town. When you first arrive, you will see a person with a red shirt to whom you give the instruction card. You then park your car next to the gate in their designated parking lot and enter through the gate.
View the rates and dates for the Koloa Zipline
Tips for the Koloa Zipline
You NEED to arrive 30 minutes prior to the tour time. The LATEST you will be able to check in at the main office is 10 minutes before the tour starts. If you come after that you will be considered a no-show and will not be able to participate in the tour. Make sure to read your confirmation email ahead of time. When we were first reading their online reviews, the time you needed to arrive was one of the main complaints people had.
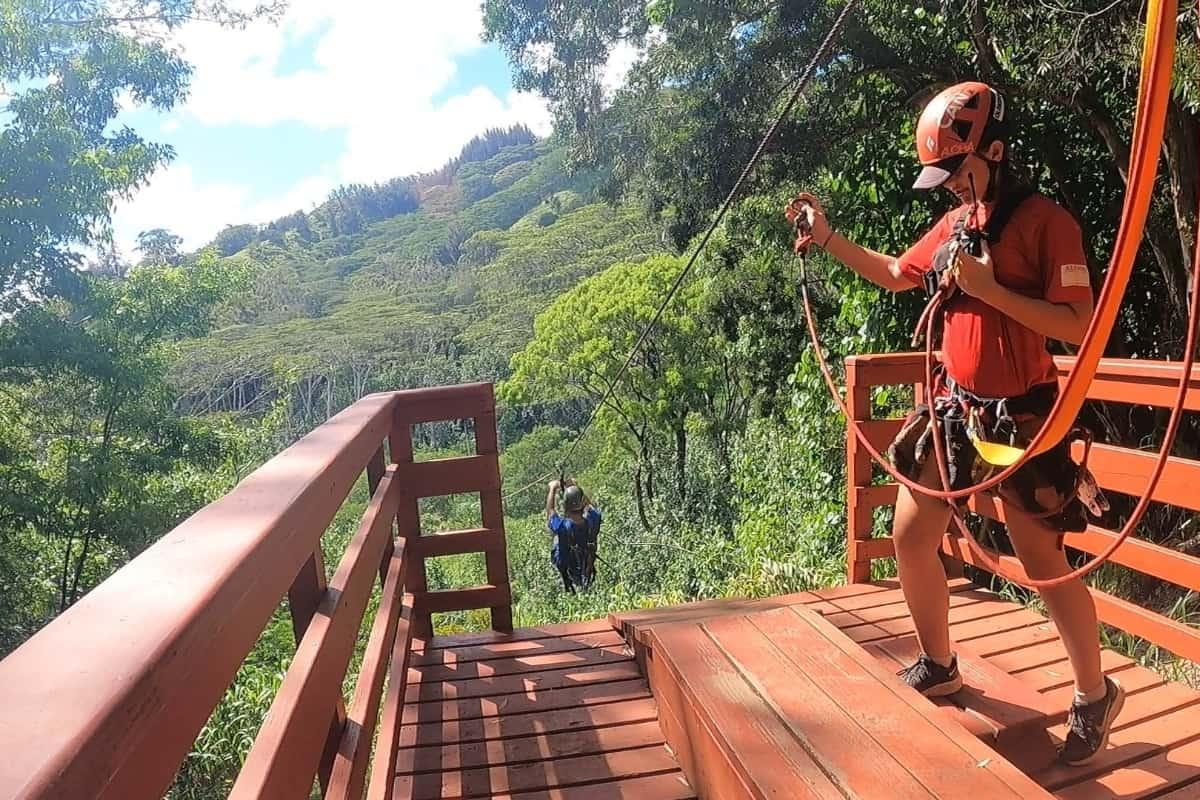
Their clothing suggestions are given by email, with recommendations for wearing pants or long shorts and T-shirts or long sleeve shirts. Short shorts and tank tops or any loose clothing are not recommended for ziplining since the harness can get caught on the clothes or just make it uncomfortable on your skin.
If you are 100 pounds or less, you will have to be accompanied by a member of the group or one of the tour guides while you go down the ziplines. This is something that families with small children should keep in mind.
You can place any belongings into a cabinet that is locked away before you leave for the zipline course. We left keys and wallets here. You can’t bring any water bottles along the tour, but they do carry water for you and also have some stored in coolers along the way. The first water cooler was after the second zipline, and it was very well-needed as I was quite thirsty by then. You can also simply leave a water bottle in the cabinet after you return.
Arriving at the Koloa Zipline Tour
When we walked through the gate to the picnic benches, we saw other people getting geared up for the tour. One of the tour guides picked out a harness, helmet, and zipline trolley for us based on our size. The guides helped us put on our harnesses, and we were given a numbered zipline trolley.
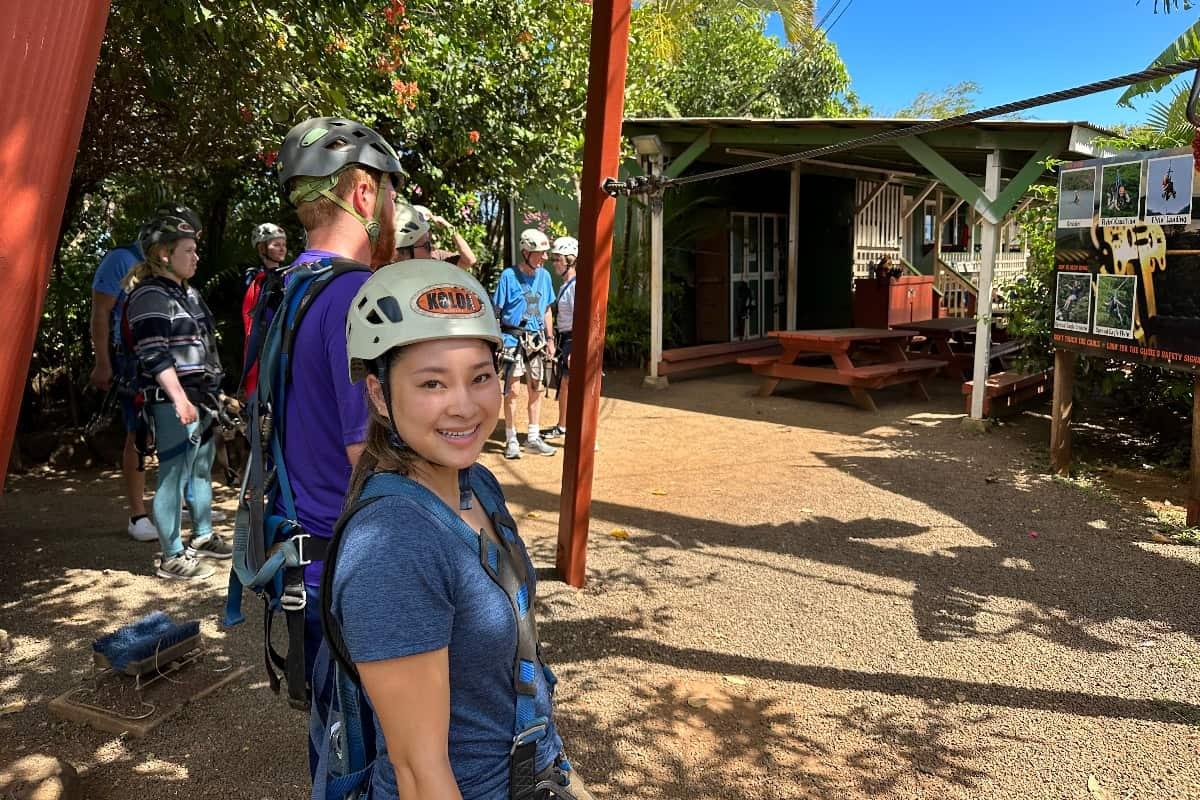
Once everyone gets all geared up, they go over some guidelines and safety precautions for you to be aware of before ziplining. Then after that, you walk to the entrance area and board their truck, which takes you to their course in in the mountains. The truck ride took about 15 minutes to get to the first ziplining course.
The 8 Koloa Zipline Courses
Once we got out of the truck, we started walking up the wooden stairs to the first zipline. There were 12 people in total, including us on this ziplining tour. For the first few ziplines, we had to position ourselves in the traditional upright regular sitting position.
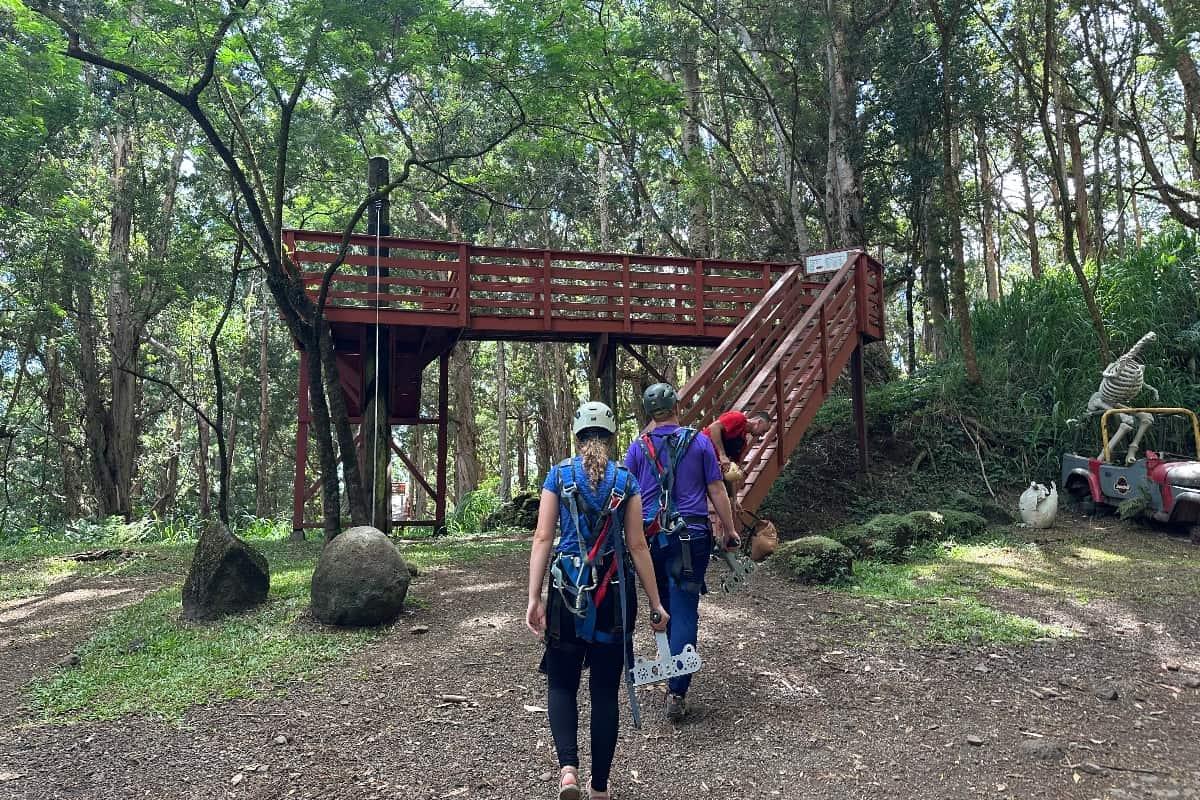
After the second zipline, we had to hike up a steep hill to get to the third zipline. It takes around 5 minutes to walk up the hill depending on how fast you hike it. Everyone is welcome to go at their own pace, and noone is rushed.
At the end of the hike, there is a rest area with benches you can sit at to wait for the rest of the group to finish the short hike. Our tour guides gave us bottled water to drink while we rested.
For the third zipline, you get to try the Superman position. The tour guides go over how to position your body if you want to do the superman and what is needed to do at the end of the line to stop yourself if you’re coming in at a high speed.
Martin wanted to try Superman position, and everyone who wanted to do it had to get their harness checked to make sure they were all set to go. Those who wanted to do the Superman position had to bend over and touch their toes on the platform so they could be hooked up in two places on the zipline trolley.
Once everything was hooked up, the tour guide was given the okay from the guide on the other side with their walkie-talkie which signaled you were ready to take off from the platform. For the superman, you have to take off from the platform in a flat position with your arms and legs extended straight outwards.
Throughout the platforms, you can find multiple signs with facts about wildlife and plants as well as the landscapes. There was a sign about Hibiscus tiliaceus (Hibiscus) flowers and how they change color as the day progresses. In the morning, the flower is yellow and turns red/orange in the late afternoon.
There was also another cool sign of Dicranopteris emarginata (fern) which is known as a forked ferm and dilim that has hairy fronds. In the tropics and neighboring regions of Polynesia and the Pacific, ferns are widely spread out in these areas.
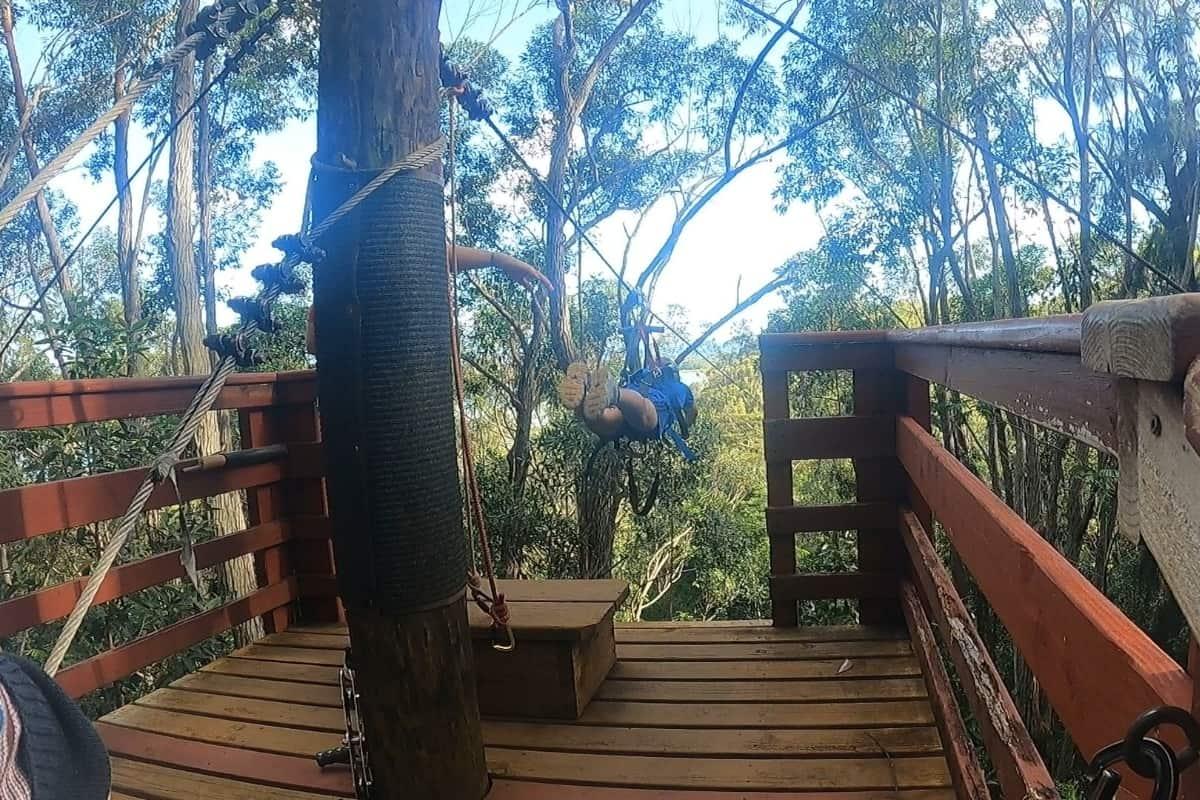
By the 5th course, one of the tour guides showed us how to do the upside-down position. I was the first one to go in our group, so figured I would go ahead and try it. They carefully explain everything on how to do it and how to stop yourself as well as how to go back to the sitting position midway.
Once you get to the end of the line you have to make sure you go back to your regular position. I was nervous at first, but once I started ziplining, it was not bad and it was just a weird feeling looking upside down at everyone while having my hands hanging free at one point.
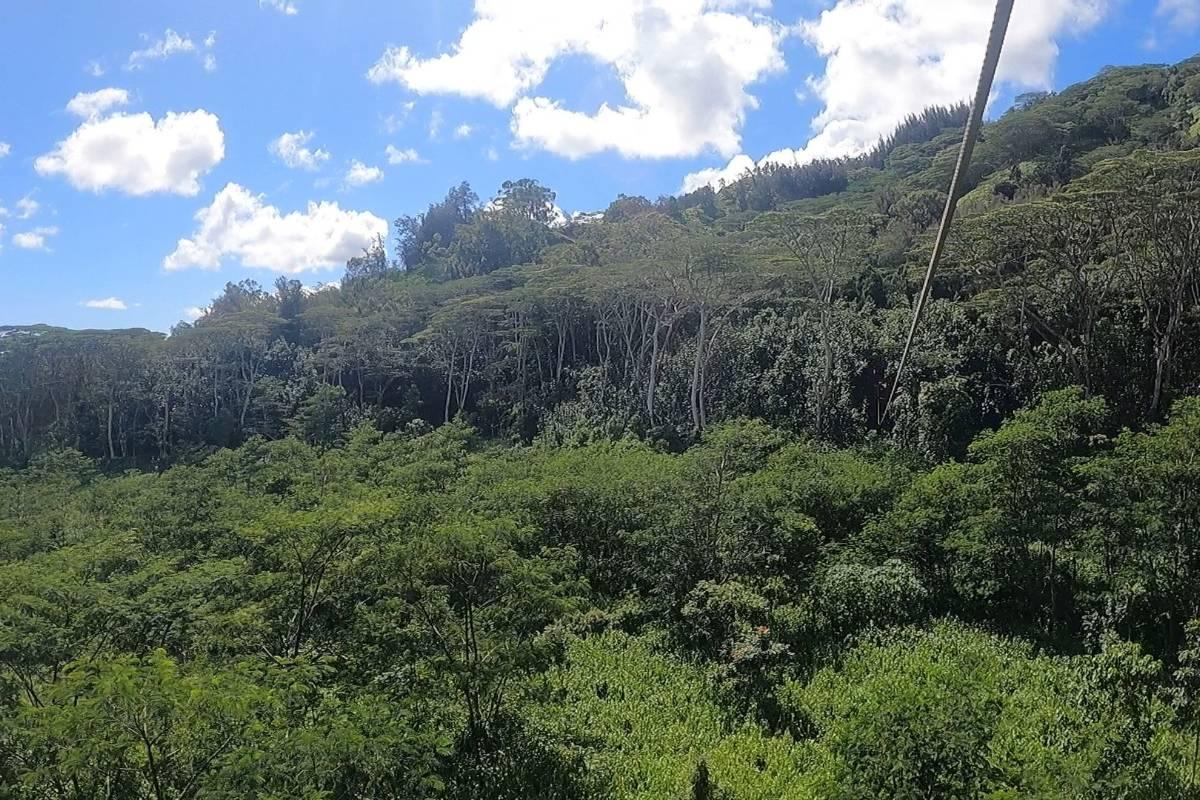
As we went through the courses we saw another sign that mentioned the Acacia koa (legacy tree) plant. It’s a native canoe plant in Hawaii that has wellness properties. It was known to have been brought to Hawaii from the first Polynesian voyage. Ancient Hawaiians used the tree trunk for papa he’e nalu (surfboards) and wa’a (canoes).
When you get to the 6th course, you can choose if you want to do a regular, superman, or upside-down position. I chose to do an upside-down position again, and Martin did the regular sitting position to take in the beautiful views.
At the end of this course right near the platform, there was water, juice, and granola bars provided for people on the tour. The granola bars are called Anahola Granola bars and are locally made in Hawaii. They were so delicious that we actually ended up buying more at one of the ABC stores.
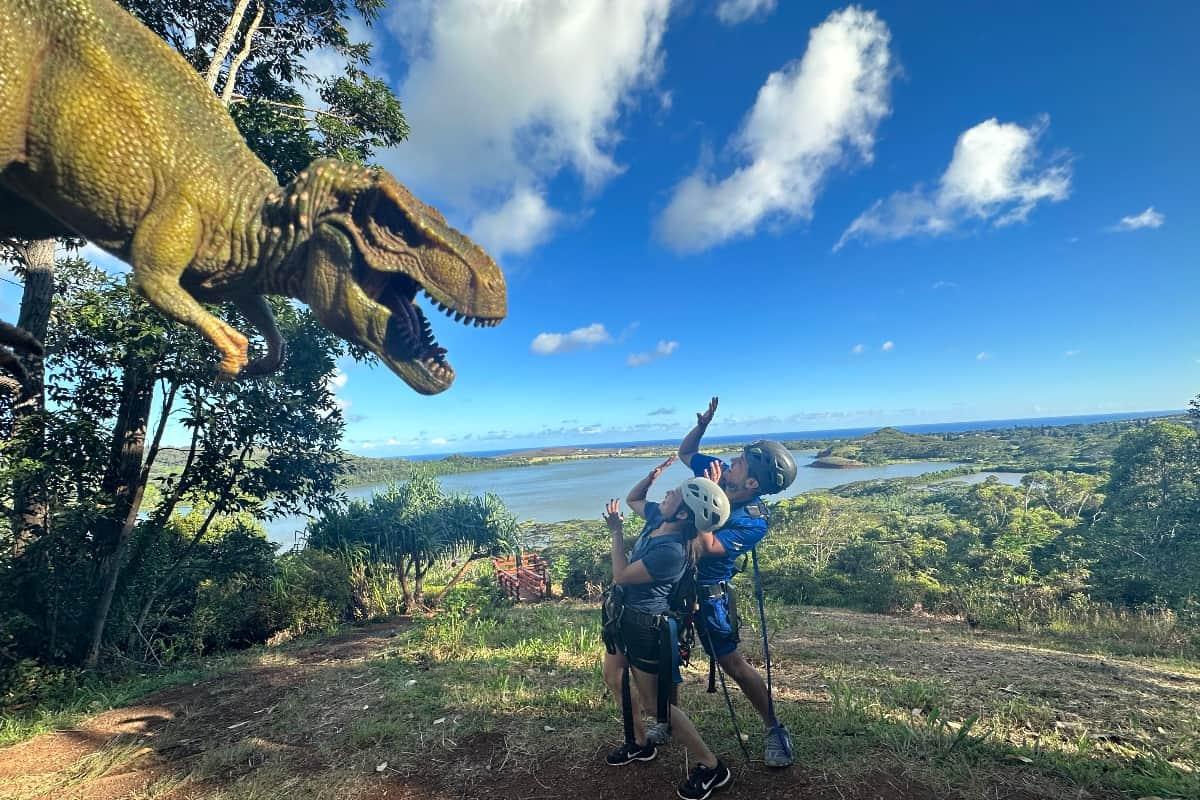
The 6th course also had a place to put your zipline trolleys down and sit down and rest while waiting for other group members to finish ziplining. We could see the Waita Reservoir from a distance, and talk to other people in the zipline group. One of the tour guides took a silly picture of us with a fake toy dinosaur, making it seem like it was going to eat us.
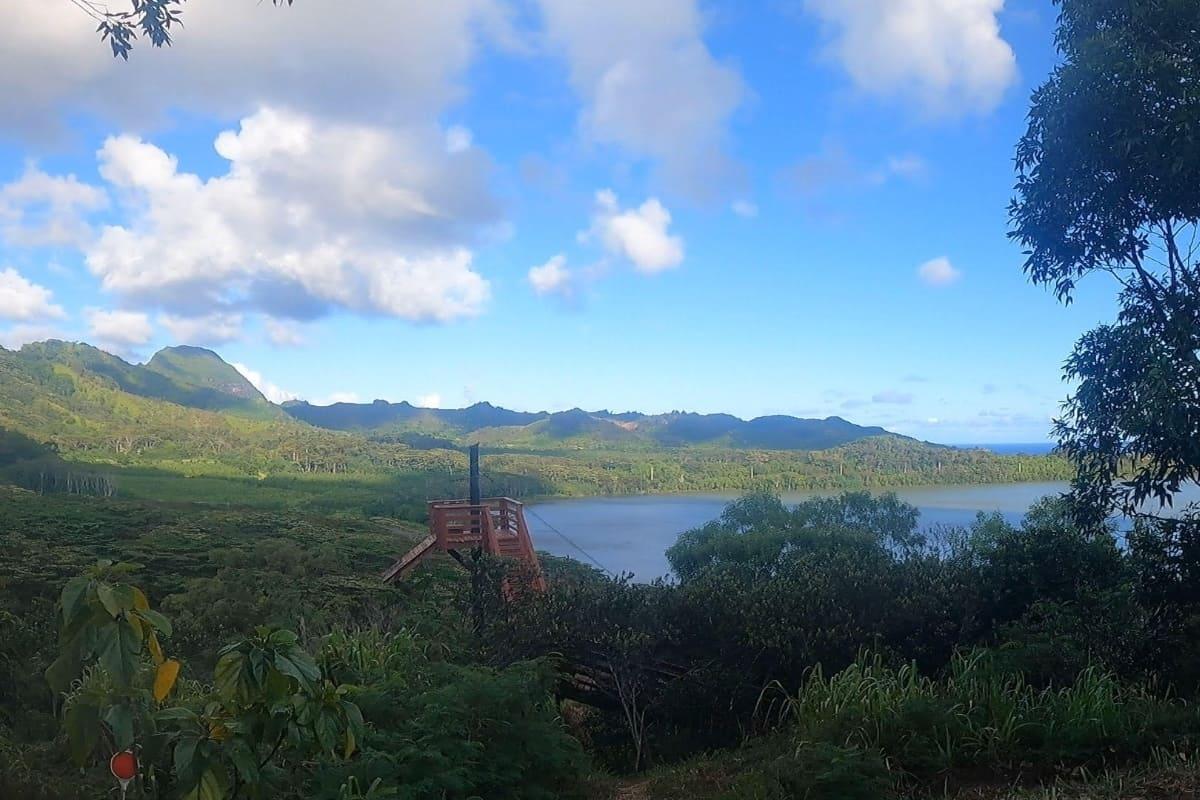
When we got to the 8th zipline course, the platform had a sign that talked about the Waita reservoir. The reservoir was constructed in 1906 and was called Koloa Swamp, which was used to supply water for sugar cane fields. It’s the largest freshwater reservoir in Hawaii, and our guide mentioned that it holds about 23 billion gallons of water and measures about 525 acres. You can even see a dirt mountain in the distance, which is the dirt that was dug up by hand to create the reservoir in the first place.
The last course was by far the longest zipline. You were able to do any position you wanted and it lasted around a minute from start to finish. We both chose to do the regular sitting position so we could enjoy the views and cruise down the line.
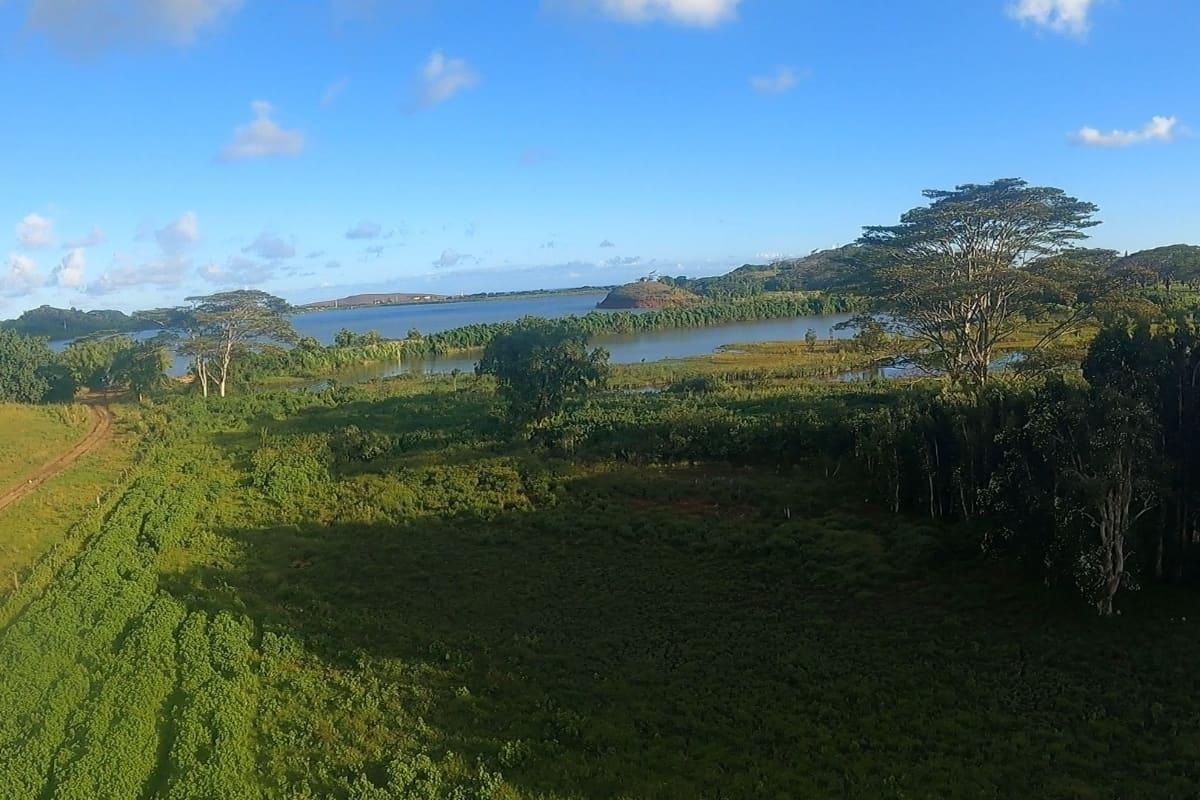
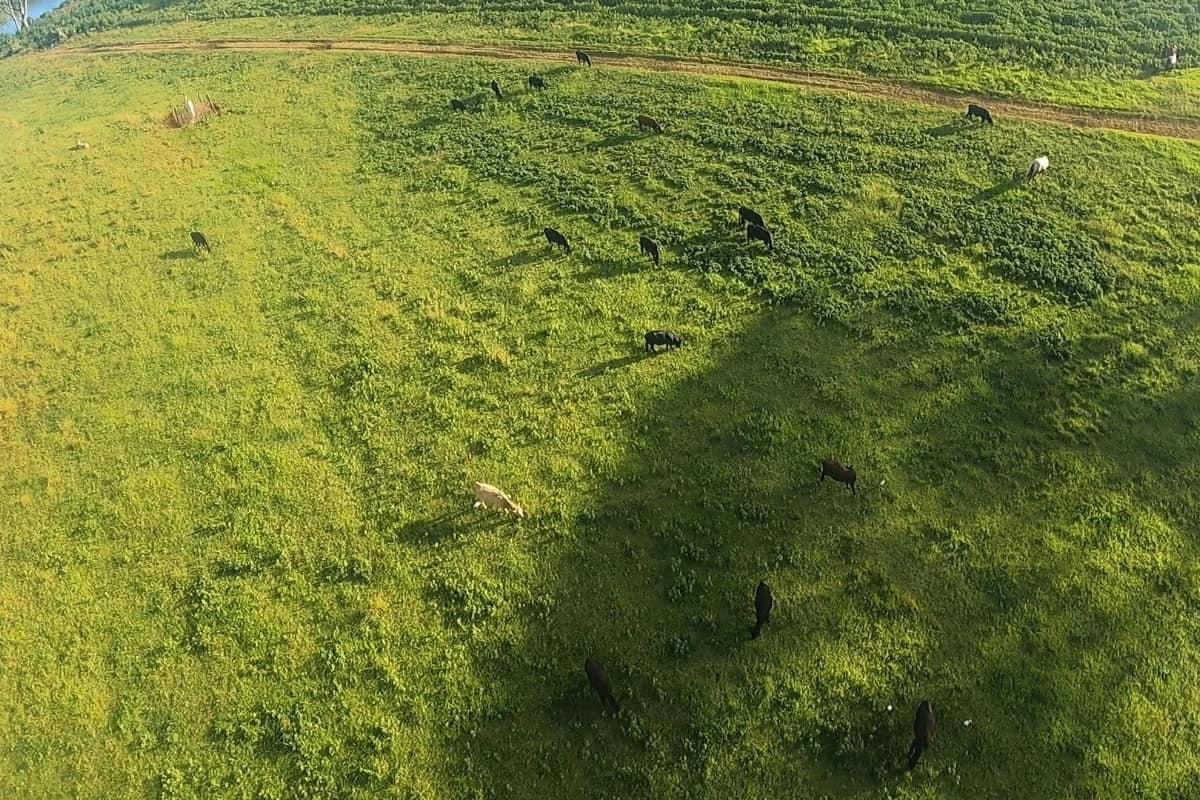
It was around 6:00 p.m., and you could see the bright sun in the distance. On the left side of us was the Waita reservoir, and farther out the ocean could seen from afar. On the right side, there was a mountain with a forest area covered. When you looked straight down on the land, you could see horses and cows eating grass. It was quite a beautiful way to end the zipline tour.
Getting Back From Ziplining
After completing the final course, the truck is waiting for you to take you back to the main area. Once we got back, we had to take all of the gear off. The ziplining tour lasted a total of 3 hours to get through all the 8 courses.
There was a tip box on the table if you wanted to give the two tour guides a tip but I believed they also accepted Venmo. Larissa and Shindo were wonderful guides who expressed a lot of knowledge about ziplining, wildlife, and the history of the land and made everything more fun.
The Koloa Ziplining tour is one of the best zipline tours in all of Kauai. We were able to go on different courses and do different aerobatics in the air while ziplining. So to answer the question, yes! The Koloa Zipline is totally worth it and we had a ton of fun.
